A Guide to Circuit Testing With Multimeter
A blown fuse that keeps coming back, a headlight with power but no output, a relay that clicks but does nothing – this is where a real guide to circuit testing with multimeter matters. On vehicle electrical jobs, guessing wastes time. Testing the circuit in the right order tells you whether the problem is power, ground, load, connector damage, or the wire itself.
What circuit testing with a multimeter actually means
Circuit testing is not just putting meter leads on two random points and looking for a number. In automotive work, it means checking whether voltage is present where it should be, whether the ground side can carry current, and whether the path between components is intact.
A multimeter helps you answer specific questions. Is the fuse fed? Is the switch passing voltage? Is the ground side open? Is there too much resistance across a connection? Those are useful answers. A single voltage reading with no context usually is not.
The most common mistake is testing parts before testing the circuit feeding the part. If a blower motor, fuel pump, or lighting circuit is dead, start with the power and ground path first. Components do fail, but wiring faults and connection issues are common enough that they should be ruled out early.
Before you start this guide to circuit testing with multimeter
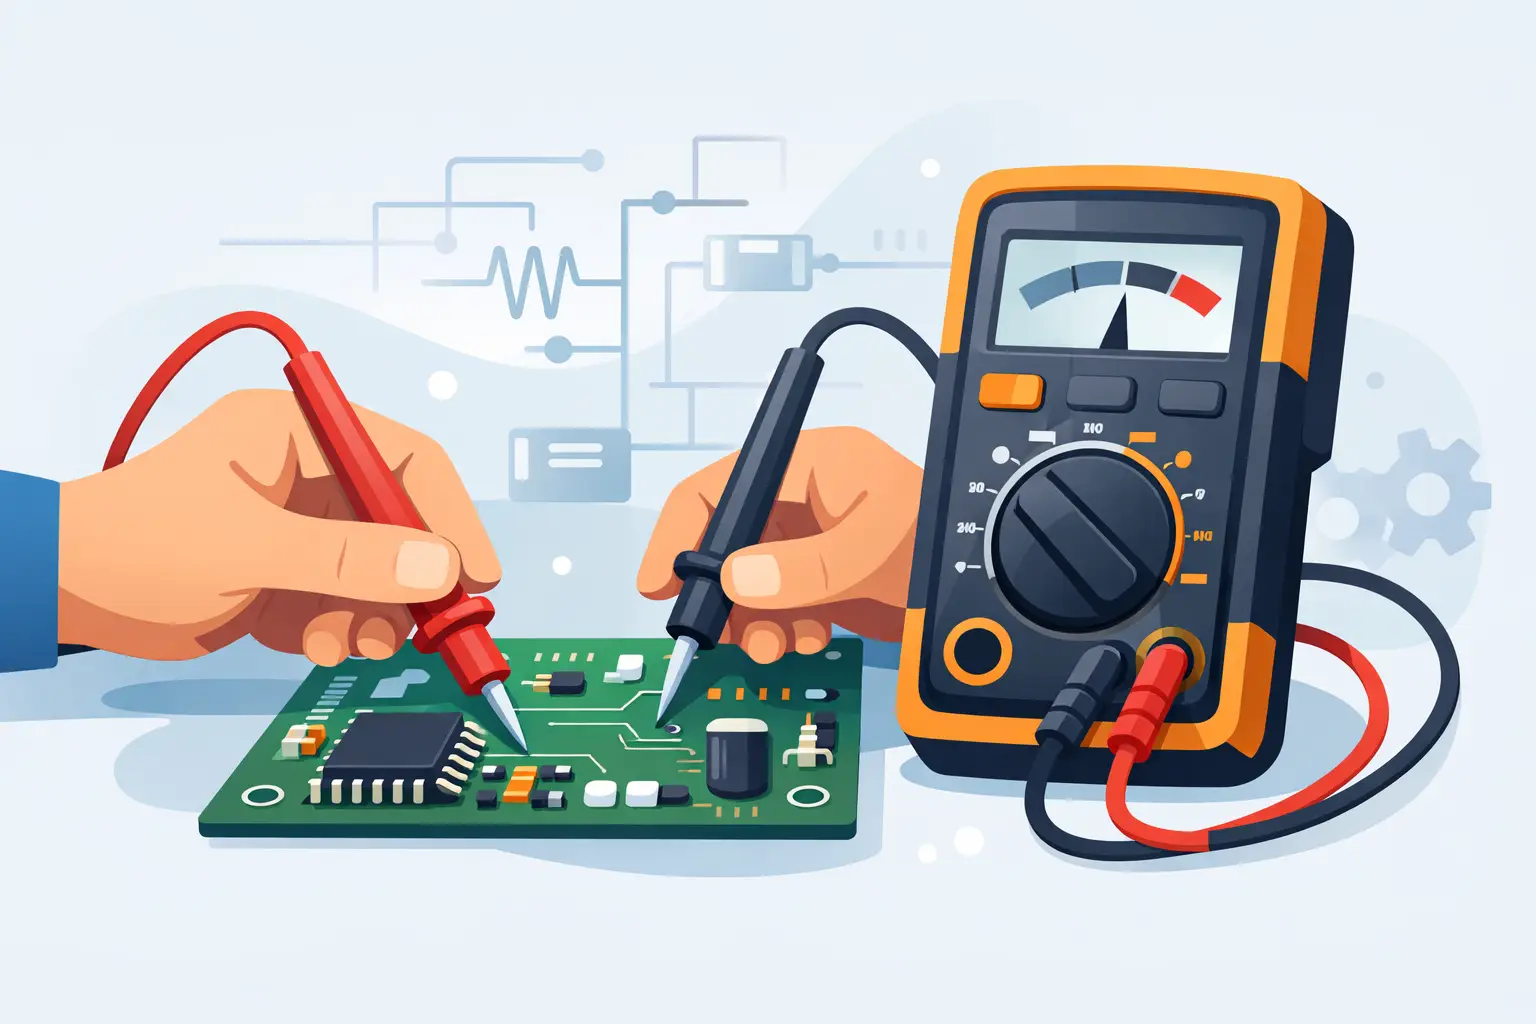
Set the meter correctly and know what you are testing. For most vehicle diagnostics, you will use DC volts first, then continuity or resistance with the circuit powered off. If you are checking current, be careful. Improper current testing can blow the meter fuse or damage the meter.
Inspect the meter leads before you touch the vehicle. A damaged lead can create false readings and send you in the wrong direction. Also confirm the black lead is in COM and the red lead is in the correct port for volts or ohms, not the high-current port.
The other requirement is a correct wiring diagram for the exact year, make, model, and component. Wire color, splice locations, and connector pinouts can change between trims and production ranges. If you are tracing a power window circuit on one model year using the wrong diagram, your meter readings may look confusing when the real problem is the reference information.
The basic rule: test live first, resistance second
On most vehicle circuits, begin with live voltage checks. Voltage testing under real operating conditions is faster and more useful than resistance checks alone. Once the circuit is powered down and isolated, resistance and continuity checks can help narrow down opens, shorts, or high-resistance sections.
That order matters. A wire can show continuity with no load but still fail in operation because of corrosion, partial strand damage, or a weak connector fit. Voltage drop testing often exposes that faster.
Start at the source and move step by step
Every circuit has a source, a path, a load, and a return. In a simple lighting circuit, battery voltage feeds a fuse, then a switch or control module, then the bulb, and finally ground. If the bulb does not light, check each part of that path in sequence.
Begin at the power source. Verify battery voltage is available. Then check both sides of the fuse. If one side is hot and the other is dead, the fuse is open. If both sides are dead, the issue is upstream. If both sides are hot, move farther down the circuit.
At the load, check for voltage on the power side with the circuit commanded on. If power is present, check the ground side. If both power and ground are available at the component connector, the component becomes a stronger suspect. If one side is missing, keep tracing the circuit instead of replacing the part.
How to test for power
Set the meter to DC volts. Place the black lead on a known good ground and use the red lead to probe the power side of the circuit. On a healthy 12-volt system, you should generally see battery voltage or close to it with the circuit on. Engine running voltage may be higher.
Use a known good ground, not just the nearest metal you can reach. Painted brackets, rusty supports, and loose grounds can create misleading results. If needed, go directly to the battery negative terminal to establish a reference point.
If voltage is lower than expected, that does not always mean the source is weak. It may point to excessive resistance in a fuse holder, connector, switch, or damaged wire. This is where voltage drop testing becomes more useful than a basic voltage check.
How to test a ground properly
A ground is not good just because it exists. It has to carry current with minimal resistance. To test ground with the meter on DC volts, place the red lead on battery positive and the black lead on the ground point or ground side of the load. If the ground path is good, you should see battery voltage.
That seems backward at first, but it works because you are measuring the available difference across the circuit path. If the reading is low or unstable when it should be near battery voltage, the ground path needs attention.
For a cleaner diagnosis, perform a voltage drop test on the ground side while the circuit is operating. If the meter shows more voltage drop than expected across the ground path, there is resistance in the connection, splice, terminal, or wire.
Voltage drop testing finds problems basic continuity checks miss
This is the part many DIYers skip, and it is often the fastest route to the fault. Voltage drop testing shows how much voltage is being lost across a wire, connector, switch, or ground while current is flowing.
To test the power side, place one meter lead at the upstream side of the segment and the other at the downstream side while the circuit is on. A low reading is usually good. A higher-than-expected reading means that section is resisting current flow.
The same applies on the ground side. Measure across the ground segment while the load is active. If the drop is excessive, clean, tighten, or repair the connection and retest. Exact acceptable values depend on circuit type and load, so this is one of those areas where it depends. A high-draw motor circuit can tolerate different numbers than a low-current sensor circuit, but in general, lower drop is better.
When to use continuity and resistance mode
Use continuity and resistance checks only with the circuit powered off. If battery voltage is still present, you can get false readings or damage the meter.
Continuity is useful for checking whether a wire is open end to end. Resistance is useful for checking a component winding, heater element, or suspected high-resistance path once isolated. But neither test tells the full story under load. A wire can pass a continuity check and still fail when the circuit is asked to carry current.
That is why continuity should confirm a finding, not replace live testing. If a door lock circuit has no operation, and you find battery voltage reaching the switch but not the actuator, continuity can help verify whether the wire between those points is broken. It should not be your first move.
Common automotive circuit faults and what the meter usually shows
An open circuit usually shows battery voltage up to the break, then nothing past it. A bad ground may let you see voltage at the component but no operation because the return path is missing. A short to ground may blow a fuse immediately or drag voltage down when the circuit is commanded on.
High resistance faults are trickier. Corrosion inside a connector, heat damage at a relay socket, or a loose terminal may still pass some voltage. The component might work weakly, intermittently, or only with no load. This is where voltage drop testing earns its keep.
Intermittent faults require patience. Wiggle testing connectors and harness sections while monitoring the meter can expose a break that looks fine at rest. If the reading changes as the harness moves, stop there and inspect closely.
A practical testing routine that saves time
When a vehicle circuit fails, use the same sequence every time. Confirm the complaint. Check battery condition if the issue affects multiple systems. Verify fuse feed and fuse output. Check for voltage at the load. Check the ground path. Then isolate the section with voltage drop, continuity, or resistance testing as needed.
This routine cuts down on parts swapping. It also keeps you from missing simple faults like a powered fuse with a poor ground at the component, which is common on lighting, blower, and chassis-mounted accessories.
If you have the exact wiring diagram, testing gets faster because you know connector views, splice points, and wire colors before you start opening panels. That is the difference between tracing a circuit and hunting for it.
The goal is not to memorize every electrical theory term. It is to prove what the circuit is doing, one test point at a time, until the fault stops being a guess and starts being obvious. Keep the meter settings right, test in order, and let the readings lead the repair.