Airbag SRS Wiring Diagram Safety Precautions
If you are pulling up an airbag SRS wiring diagram safety precautions checklist after disconnecting a yellow connector, stop and reset the job before you go further. The SRS system is not like lighting, audio, or power windows. One wrong probe, one rushed unplugging step, or one incorrect diagram can trigger a deployment, damage a control module, or create a safety issue that does not show up until the vehicle is back on the road.
Why SRS wiring work needs a different process
Airbag and SRS circuits are designed around one priority – reliable deployment during a crash. That means they are sensitive, monitored, and often protected by backup power inside the system. Even after the battery is disconnected, some vehicles can hold reserve energy in the airbag control module for a period of time.
That is the first trade-off with SRS diagnosis. You need enough access to verify the circuit, but every extra step around connectors, clocksprings, impact sensors, seat belt pretensioners, and modules adds risk. This is why exact vehicle fitment matters more here than with many other electrical jobs. A generic diagram or a close-enough model year can send you to the wrong connector, wrong wire color, or wrong test method.
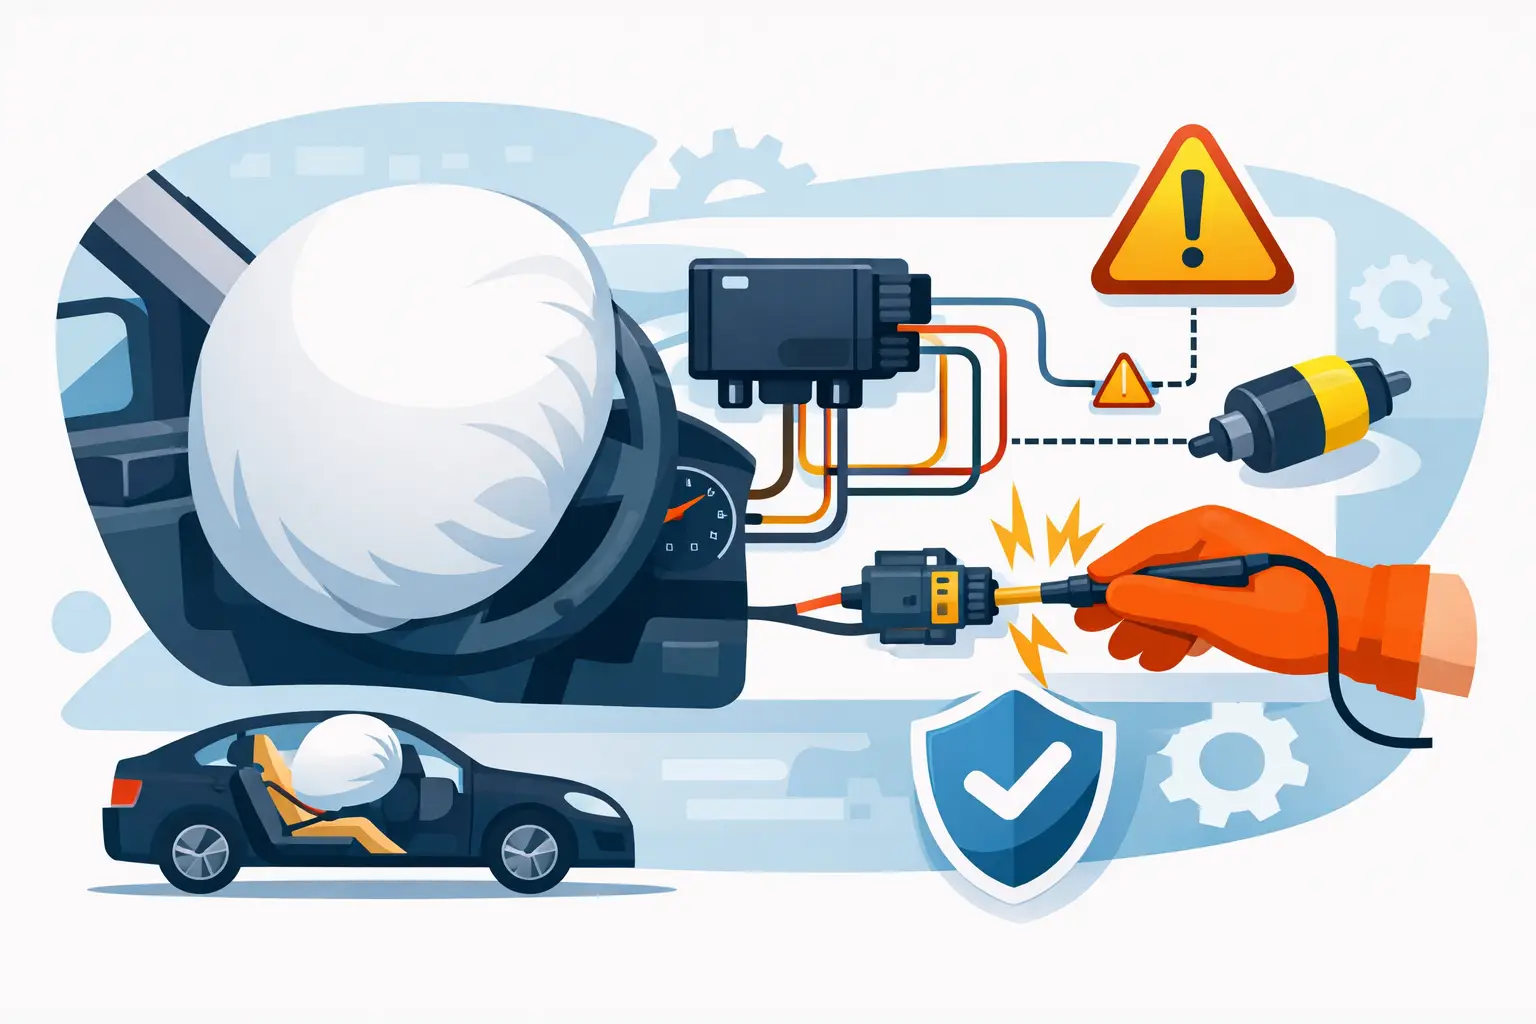
Start with the correct airbag SRS wiring diagram safety precautions
Before touching the vehicle, confirm the exact year, make, model, and system you are working on. SRS wiring varies by trim, body style, restraint package, and even production date. Front airbags, side airbags, curtain airbags, occupancy sensors, seat belt pretensioners, and steering wheel controls may share harness routes without sharing test procedures.
A correct diagram should show connector views, splice locations, module identification, ground points, and wire colors for that exact vehicle. If the diagram does not clearly identify the SRS module, deployment loops, sensor inputs, and related seat or steering column circuits, it is not specific enough for the job.
This is where a vehicle-specific source saves time. On Carwiringnew.com, the value is simple: select the exact vehicle and component so you are not guessing from a broad manual or a forum image that may not match what is in front of you.
Power-down comes first, not halfway through
A common mistake is disconnecting parts of the interior first and removing battery power later. For SRS work, battery isolation should happen before you unplug airbag-related components. In most cases, that means turning the ignition off, disconnecting the negative battery cable, and then waiting the required discharge time listed for the vehicle.
The waiting period is not optional. Some vehicles may discharge quickly. Others may require significantly more time because of reserve capacitors in the module. If you do not have the service information for that exact model, do not assume a universal time is safe.
It also depends on the task. If you are replacing a steering wheel, clockspring, front seat, impact sensor, or instrument panel component near a passenger airbag, the safest move is to treat the full SRS system as active until the specified power-down time has passed.
Do not trust wire color alone
Yellow connectors and looms are often used to identify SRS circuits, but not every manufacturer follows the same visual standard in every location. Wire colors can also repeat in adjacent harnesses. Use the diagram to verify connector ID, cavity number, and component location. Color helps, but it does not replace pin-level confirmation.
Never use a test light on SRS circuits
This is one of the easiest ways to turn a diagnostic check into a bad day. A test light can introduce current into the circuit. On SRS wiring, that is unacceptable. Use only the testing methods specified for that vehicle and that circuit. In many cases, direct probing of deployment circuits should be avoided entirely unless the manufacturer procedure specifically allows it.
The most common high-risk mistakes
The pattern is usually the same. The technician or DIYer is in a hurry, the interior is partly apart, and the vehicle only needs one quick check. That is when the avoidable mistakes happen.
One mistake is back-probing the wrong connector because the diagram was pulled for the wrong trim or year range. Another is unplugging a seat connector with battery power still present, then creating an SRS fault that requires scan tool clearing and further verification. Another is handling an airbag module face-down on a bench, which creates unnecessary risk if it deploys.
There is also a diagnostic trap with resistance checks. On some circuits, checking resistance directly through a deployment loop or inflator circuit can be unsafe or prohibited. That is where exact procedures matter. The safe method may involve checking harness continuity from isolated points, using approved simulator tools, or testing the non-deployment side of the circuit only.
Safe handling matters as much as safe diagnosis
An airbag module is not just another part you set aside next to your sockets. Once removed, it should be handled and stored exactly as required for that unit. In general terms, keep it away from heat, impact, static sources, and loose metal objects. Do not carry it by the wires or connector. Do not place anything on top of it.
Steering wheel and dash modules should be set in the recommended orientation for that design. If you do not know the specified orientation, stop and verify it before moving further. Seat-mounted and curtain components can have different handling notes, and pretensioners deserve the same level of caution.
Scanning before and after the repair saves time
A wiring diagram tells you where the circuit goes. It does not replace fault-code data. Before disassembly, scan the vehicle and record all SRS codes. That gives you a starting point and helps separate a current fault from an old stored issue.
After the repair, scan again before reassembly is considered complete. If the light is still on, do not guess. Confirm power, ground, connector seating, terminal condition, and component match against the diagram. A cleared light after reconnecting the battery does not always mean the system is fixed if the self-test has not run through all conditions.
When the job is near SRS wiring but not on SRS wiring
This is where many DIY problems start. Someone is installing a radio, replacing a seat, repairing a steering column switch, or fixing body damage. The target job is not the airbag system, but SRS wiring is in the work area.
The precaution still applies. If you are removing trim around a pillar airbag, dropping a headliner, pulling a seat, removing a steering wheel, or opening the dash near a passenger airbag, treat the SRS system as part of the job. The diagram helps you see what shares the space, what connectors must stay untouched, and what harness branches need protection while you work.
It also helps with reassembly. Pinched harnesses, partially seated connectors, and misrouted wiring under seats are common causes of repeat SRS faults after otherwise simple interior work.
What to verify before reconnecting battery power
Before restoring power, slow the process down. Make sure every SRS connector is fully seated and locked, no terminals are bent or backed out, all grounds are secured, and no trim screw or bracket has been installed into a hidden harness path. Confirm that removed modules, seats, steering wheel parts, or sensors are the correct part for the vehicle.
If the job involved a clockspring or steering angle area, verify centered installation and related alignment procedure requirements. If the repair involved collision work or replacement sensors, confirm mounting position and fastener correctness. Small installation errors can create system faults or unreliable operation.
The real rule: if the procedure is unclear, stop
SRS work punishes assumptions. If the diagram does not match the connector in your hand, stop. If the power-down time is unclear, stop. If the testing method seems borrowed from a general electrical workflow instead of an SRS-specific procedure, stop.
That is not being overly cautious. It is the correct standard for a system designed to deploy explosive safety devices in milliseconds.
The fastest airbag repair is usually the one that starts with the right diagram, the right power-down steps, and no guessing at all. Use exact vehicle information, work deliberately, and let the diagram confirm every move before you make it.