Alternator Charge Circuit Wiring Diagram Help
A charging problem usually stops being a parts problem the moment the new alternator still does nothing. That is when alternator charge circuit wiring diagram help matters most – not as background reading, but as the fastest way to see what the battery, alternator, fuse link, PCM, regulator, and warning lamp are actually supposed to do on your exact vehicle.
If you are dealing with low voltage, a battery light that stays on, an overcharge condition, or a no-charge complaint after replacement, the diagram is the job. Modern charge circuits vary more than many people expect. One vehicle may use a simple output wire and ignition feed. Another may route field control through the PCM, add a current sensor, and pass charging status across a network. If you assume they are all the same, you can lose an hour fast.
What alternator charge circuit wiring diagram help should show
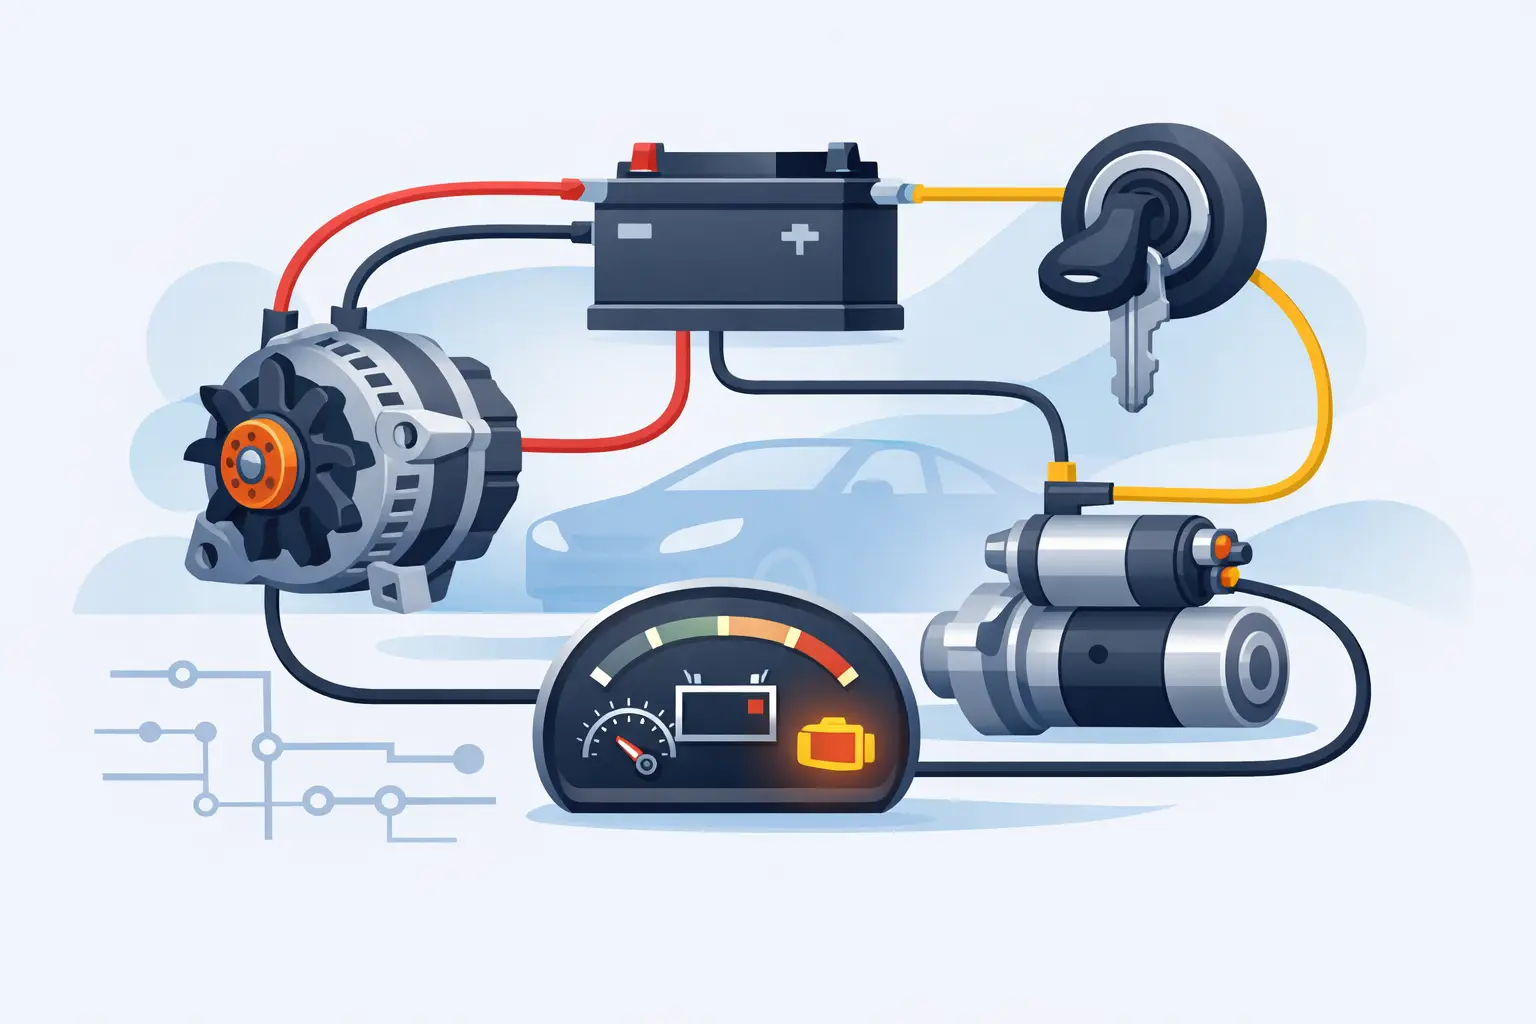
A useful charging diagram does more than point to the alternator symbol. It should show the full path between the alternator output terminal and the battery, the fuse or fusible link in that path, the regulator strategy, and every control or sense wire involved. On many late-model vehicles, that also includes PCM connections, battery current sensors, ignition feeds, and instrument cluster or warning lamp circuits.
This matters because charging faults often sit outside the alternator itself. A blown mega fuse, open fuse link, corroded junction block, weak ground, or missing ignition reference can produce the same symptom as a failed unit. Without the diagram, you are testing in circles. With it, you know which wire should have battery voltage all the time, which one should wake up with key-on, and which circuit is controlled instead of powered.
The right diagram also shows connector views, splice points, ground locations, and wire colors. That is where a lot of wasted time happens. Two red wires near the alternator are not helpful if only one passes through the charge fuse and the other is a sense circuit for a different branch.
Why generic charging diagrams cause bad calls
A generic charging schematic can explain theory, but it will not reliably fix a vehicle in the bay or driveway. The charging system on a 2004 truck can be completely different from the one on a 2014 version of the same model line. Even engine size, trim, or optional electrical packages can change the circuit.
One common mistake is assuming the internal regulator works alone. On many vehicles, the PCM commands or monitors alternator operation. Another is expecting a battery light circuit when the vehicle actually reports charging faults through the instrument cluster or a data message. If your diagram does not match the exact year, make, model, and component setup, you can prove the wrong thing perfectly.
That is why vehicle-specific access matters. On Carwiringnew.com, the fastest path is to select the exact vehicle details and go straight to the charging or alternator circuit instead of sorting through broad manual sections that may or may not apply.
How to read an alternator charge circuit wiring diagram
Start with the alternator itself. Identify the B+ output terminal first. That is the high-current path that should lead through a fuse, fusible link, or power distribution point to the battery positive side. If that path is open, the alternator may produce voltage at the case connector and still never charge the battery.
Then identify the ground path. Some alternators ground through the case and engine block. Others also use a dedicated ground wire. If engine-to-chassis or battery-to-engine grounds are weak, charging voltage can look low or unstable even with a good alternator.
Next, look at the smaller connector terminals. Depending on the system, these may be labeled field, sense, ignition, lamp, duty signal, command, monitor, or communication. The labels matter less than the diagram path. Follow each one to its source. If a wire runs to the ignition switch through a fuse, you expect key-on voltage there. If it runs to the PCM, you may need to verify continuity, reference voltage, pulse-width control, or scan tool data rather than simple battery voltage.
Do not skip splice points and shared circuits. A charging sense wire may branch off a junction that also feeds another module. A voltage drop or corrosion upstream can distort what the regulator sees and drive undercharge or overcharge complaints.
Alternator charge circuit wiring diagram help for common no-charge tests
The diagram tells you where to put the meter before you replace anything else. With the battery charged enough to test safely, check battery voltage at rest. Then start the engine and compare system voltage. If voltage stays near static battery level, move to the diagram and test the charge path in order.
First check for battery voltage at the alternator B+ terminal. If there is no voltage there with the engine off, the open is usually between the battery and alternator output stud – often a fuse link, mega fuse, or connection issue. If B+ is present, check the control connector based on the diagram. One terminal may need key-on power. Another may need continuity to the PCM. Another may be a feedback circuit that should not be loaded with a test light.
Voltage drop testing is where the diagram pays off. If the alternator is charging but the battery is not seeing it, test the positive side from alternator B+ to battery positive under load, then the ground side from alternator case to battery negative. High drop on either side points to resistance in a cable, connection, ground strap, or junction.
If the battery light is on but charge voltage looks normal, the problem may be in the indicator or monitor circuit rather than the alternator output path. Again, the diagram separates those two jobs. That prevents replacing a charging unit for a warning circuit issue.
It depends on the regulator strategy
Not every alternator can be judged by the same numbers at the same time. Older internal-regulated systems are often straightforward. Newer smart charging systems may vary output based on battery temperature, load, deceleration strategy, and PCM command. Seeing 12.6 to 13.2 volts at idle for a short period is not always a failure if the system is intentionally reducing charge rate.
That is why the wiring diagram should be paired with an understanding of control strategy. If the alternator has command and monitor circuits to the PCM, a wiring fault, blown fuse, or control module issue can mimic a dead alternator. If the system uses a battery current sensor, damage in that circuit can push charging behavior out of range.
The trade-off is simple. Basic systems are easier to test with a meter alone. Smart systems need the exact diagram and, in some cases, a scan tool to confirm what the module is requesting.
When the diagram saves the most time
The biggest time savings usually show up after a part has already been replaced once. That includes a new alternator with no output, a new battery that still goes dead, or repeated charge warning lights with no obvious cable failure. In those cases, you are no longer looking for a bad component first. You are looking for the missing piece in the circuit.
That missing piece is often small. A corroded fuse block eyelet. A broken sense wire near the connector. A PCM fuse that also powers the regulator circuit. A poor engine ground after recent engine work. These are fast finds when the wiring path is clear and slow finds when it is not.
If you are a DIYer, the diagram keeps the job organized and lowers the chance of testing the wrong circuit. If you are a working tech, it cuts comeback risk and shortens diagnostic time on vehicles with less familiar charging strategies.
Getting the right alternator charge circuit wiring diagram help
The best diagram is the one matched to the exact vehicle and the exact component you are servicing. Year, make, model, engine, and charging configuration all matter. Broad repair information is fine for theory, but charging faults are solved by specifics.
If you are at the point where readings do not match expectations, stop guessing and pull the correct charge circuit diagram before replacing another part. A charging system only looks complicated until the correct wiring path is in front of you.
The next good move is usually the simplest one: get the exact diagram, follow the circuit from battery to alternator to control side, and let the wiring tell you what failed.